How to Use PPR Electrofusion Fittings: Step-by-Step Guide for a Leak-Free Connection
PPR electrofusion fittings have become a preferred solution in plumbing and industrial piping systems due to their high durability, reliable sealing, and easy installation process. Whether you’re working on a residential water supply system or a large-scale infrastructure project, knowing how to properly use PPR electrofusion fittings ensures a leak-free, long-lasting connection.
In this guide, we’ll walk you through everything you need to know about using PPR electrofusion fittings—tools, techniques, and expert tips.

🔧 What Are PPR Electrofusion Fittings?
PPR (Polypropylene Random Copolymer) electrofusion fittings are pipe connectors designed to be fused to PPR pipes using an electrofusion welding machine. Unlike socket welding, electrofusion offers automated temperature control and uniform heating, making it ideal for high-pressure or critical applications.
These fittings are widely used in:
- Hot and cold water supply systems
- Central heating systems
- Industrial fluid transport
- Compressed air systems

🛠️ Tools & Materials You’ll Need
Before you begin, make sure you have the following:
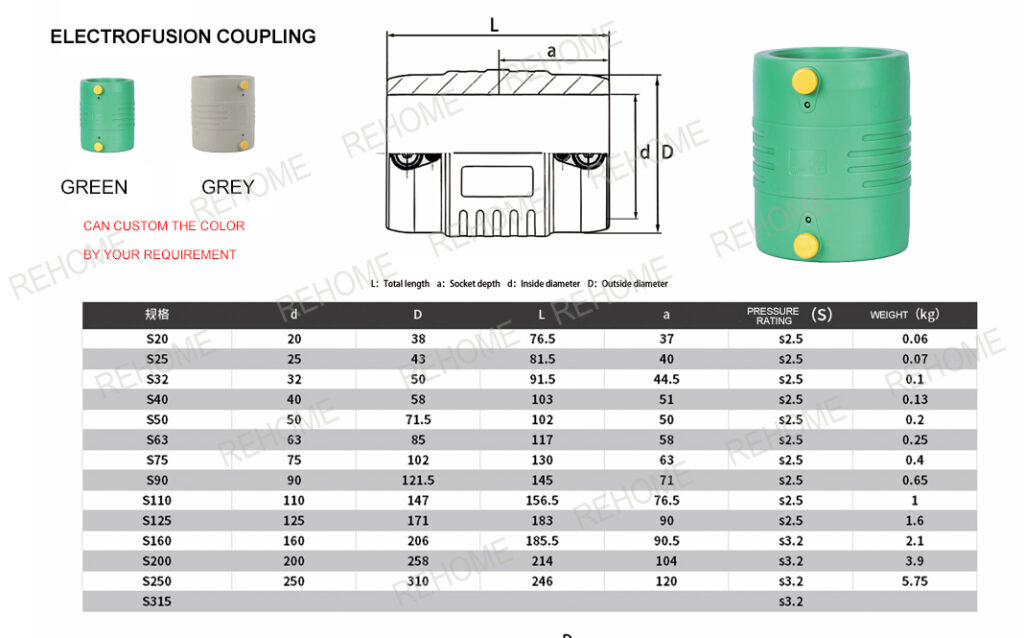
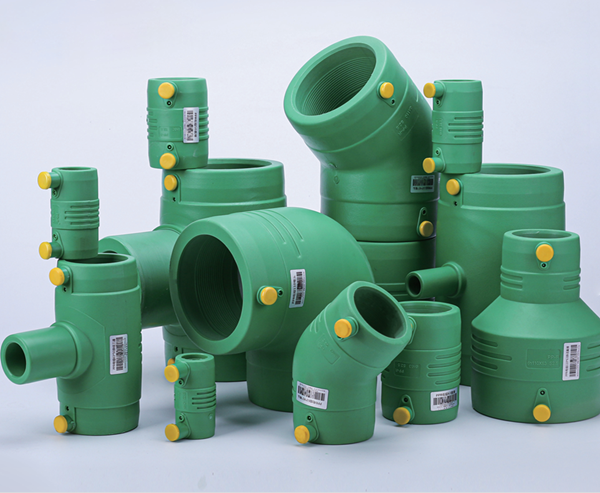
- PPR electrofusion fittings coupling (elbows, tees, couplers, etc.)
- PPR pipes (properly sized)
- Electrofusion welding machine
- Pipe cutter or saw
- Pipe scraper or rotary scraper
- Cleaning wipes (alcohol-based)
- Marker

✅ How to Use PPR Electrofusion Coupling to PPR pipes (Step-by-Step)
Step 1: Cut the PPR Pipe
Use a pipe cutter to make a clean, square cut. Uneven cuts can lead to improper fusion.
Step 2: Mark Insertion Depth
Mark the depth of the PPR pipes fitting insertion to ensure correct alignment.
Step 3: Scrape the Pipe Surface
Remove the outer oxidized layer of the pipe using a rotary scraper. This step is critical for a strong weld.
Step 4: Clean the Surfaces
Use alcohol-based wipes to clean both the pipe and the inside of the fitting. Dirt or grease can weaken the joint.
Step 5: Assemble the PPR Pipe and Fitting
Insert the pipe into the fitting up to the marked line. Ensure proper alignment and avoid rotating the pipe once it is inserted.
Step 6: Connect the Welding Machine
Attach the machine terminals to the fitting’s metal inserts. Input the correct welding parameters—either manually or by scanning the barcode on the fitting.
Step 7: Start the Fusion Process
Start the machine and allow it to complete the fusion cycle. Wait for the cooling time before handling the joint.
If you want to learn more about our products , you can leave your comments to us, or send a email to is
发表回复